When you purchase through links on our site, we may earn an affiliate commission. How it works.
Quick Answer
- Depth: Break parallel. Your hip crease must go below the top of your knee.
- Spine: Maintain a neutral spine throughout. No rounding, no excessive arching.
- Drive: Push the floor away, driving through your midfoot and heels.
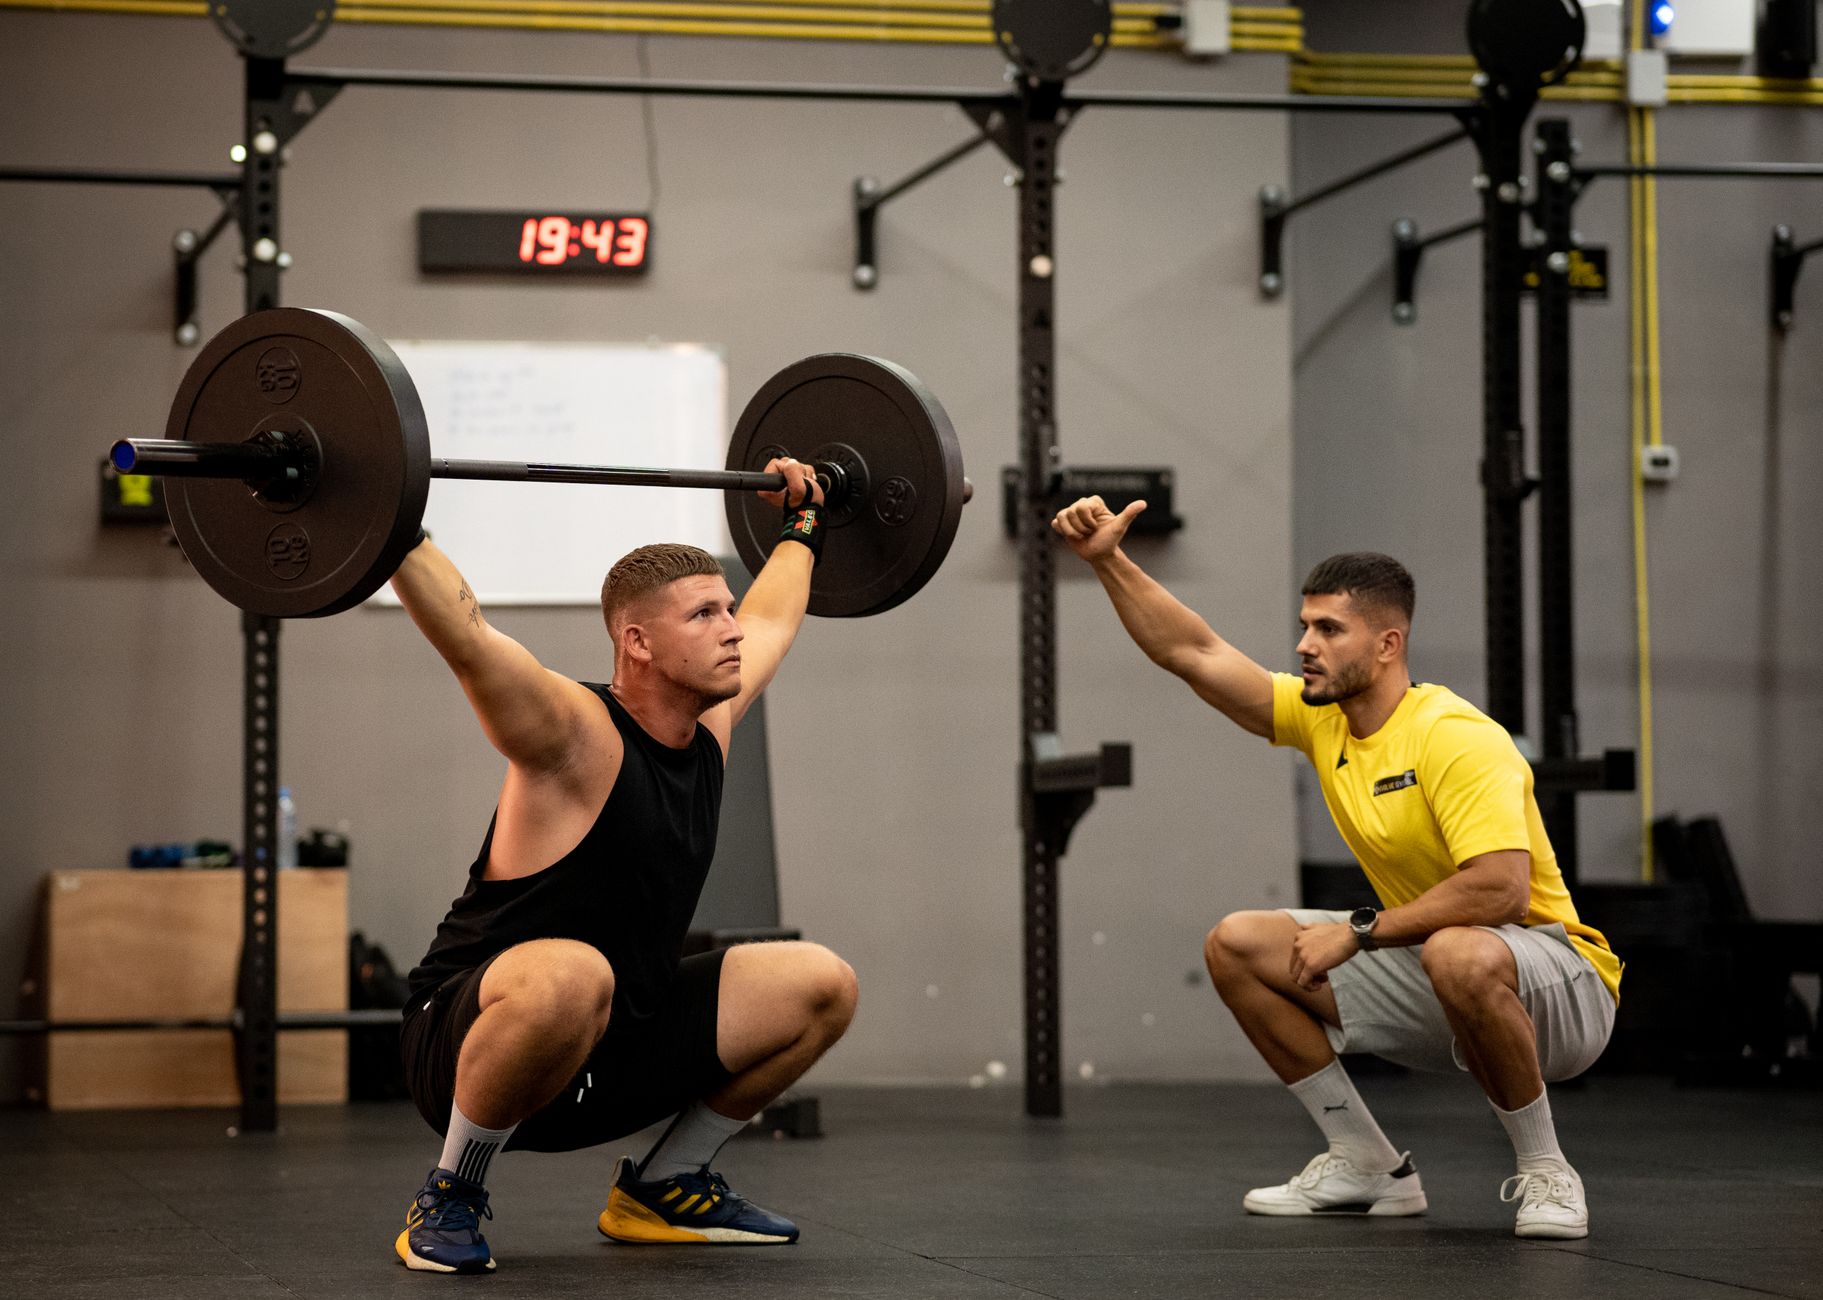
You’re staring at your squat in the mirror. Or maybe you’re watching a shaky phone video. You think you’re hitting depth. You think your back is straight. But are you really? Most guys aren’t. They’re ego lifting. They’re doing half-reps and calling it training. This is about getting good squat form. This is about building real strength. Not the kind you brag about, but the kind you feel when you’re adding plates. We’ve spent years under the bar, dissecting every angle, every grind. We’ve seen the bro-science pump you up for five minutes, then leave you with nagging pain and zero progress. Forget magic pills and fancy advice. This is the hard truth about the squat. What does good squat form look like? It looks like control. It looks like power. It looks like a foundation for everything else you do in the gym.
Why It Works
The squat is the king of lower body movements for a reason. It’s a compound exercise that works more muscles than almost anything else you can do. But it’s also the easiest to cheat. The goal of the squat isn’t just to move weight from point A to point B. It’s to create tension, to control the eccentric (lowering) phase, and to generate explosive power on the concentric (lifting) phase. This requires a specific sequence of muscle engagement and joint positioning. When you nail proper squat technique, you’re not just building quads and glutes. You’re building core strength, improving mobility, and developing a more resilient physique. Think of it as a full-body handshake with gravity. If any part of that handshake is weak, the whole damn thing falls apart. We’re talking about building a structure that can handle serious load, not just wobbling under a weight you can barely move.
The Program / The Technique
Related reading: 4-Day Upper Lower Split: The Complete Workout Plan for Strength & Size
This isn’t a program you follow for a week. This is a technique guide you drill until it’s second nature. Every session should start with warm-up sets focusing on these cues. Once you’re moving real weight, treat every rep like it matters.
| Exercise | Sets | Reps | Rest (or Tempo) |
|---|---|---|---|
| Barbell Back Squat | 5 | 5 | 2-3 minutes. Focus on 3-0-1-0 tempo (eccentric-pause-concentric-pause) |
The tempo is key here. 3-0-1-0. That means a three-second descent. No pause at the bottom where you just bounce. A controlled one-second ascent. No pause at the top. This forces you to control the weight through the entire range of motion. On rep 8 of your third set, when your quads are burning and your breath is short, that’s where the strength is built. That’s where you differentiate yourself from the guys just going through the motions. This tempo forces you to use your muscles, not momentum.
Progression
You want to get stronger? You have to progress. The easiest way to do that with this technique focus is simple: add weight or reps.
- Week 1: Start with a weight you can comfortably hit for 5 reps with good form, using the 3-0-1-0 tempo.
- Week 2: If you hit all your sets for 5 reps with solid form, add 5-10 lbs to the bar. Aim for 5 reps again.
- Week 3: If you hit 5 reps, add another 5-10 lbs. If you can only manage 3-4 reps with good form, stay at that weight for another week. The goal is to maintain the form.
- Rep Progression: When you can consistently hit 5 reps across all sets for a given weight, consider adding a rep to one or two of the sets. Work up to 5x6. Then increase the weight.
This isn’t rocket science. It’s about consistent, incremental overload. Don’t jump weight just because you can. Jump weight because you earned it with controlled, powerful reps.
Form Cues & Common Mistakes
Related reading: Beginner Workout Plan: 3-Day Full-Body Program with 8-Week Progression
Let’s get down to brass tacks. What does good squat form actually look like, and what are you probably doing wrong?
The Setup:
- Bar Placement: High bar or low bar, it doesn’t matter as much as consistency. The bar should sit securely on your traps (high bar) or rear delts (low bar). Find what’s comfortable and stable.
- Stance: Shoulder-width or slightly wider. Toes pointed slightly out, maybe 10-30 degrees. Experiment to find what feels best for your hip structure.
- Grip: Squeeze the bar. Get a tight upper back. Imagine trying to break the bar in half. This creates upper body tension.
- Bracing: This is non-negotiable. Take a deep diaphragmatic breath. Fill your belly with air, not just your chest. Then, bear down like you’re about to take a piss. This creates intra-abdominal pressure, which stabilizes your spine. Hold this brace throughout the entire rep.
The Descent:
- Initiate: Unrack the weight. Take a step back. Re-brace. Initiate the movement by pushing your hips back slightly, then bending your knees. Think “hips back, then knees bend.”
- Depth: This is where most guys fail. You need to break parallel. Your hip crease must be lower than the top of your knee. If you can’t hit depth without your back rounding, the weight is too heavy, or your mobility is garbage.
- Knee Travel: Your knees should track in line with your toes. They shouldn’t cave inward. Fight to keep them pushed out. This is where a weightlifting belt can help maintain that outward pressure on heavier sets, but it won’t fix bad mechanics.
The Ascent:
- Drive: This is the power phase. Drive through your midfoot and heels. Imagine pushing the floor away from you. Don’t just stand up. Explode up.
- Spine: Maintain that neutral spine. Don’t let your chest fall forward excessively. Keep your head in a neutral position, looking slightly ahead, not straight up or down.
Common Mistakes That Kill Progress:
- The Half-Rep: This is the #1 killer of squat progress. If you’re not hitting at least parallel, you’re not squatting. You’re doing a partial range of motion that builds weak links. Stop it.
- The Butt Wink: This is when your lower back rounds uncontrollably at the bottom of the squat. It’s a sign of tight hamstrings and glutes, and a weak lower back. Pushing your hips back more and focusing on bracing can help. But for serious weight, you might need to work on your mobility.
- Knees Caving In: This puts immense stress on your knees. It’s often due to weak glute medius muscles. Focus on actively pushing your knees out throughout the entire movement.
- Looking Up or Down: Your head position dictates your spine position. Keep it neutral. Looking straight ahead or slightly down will help maintain a stable, neutral spine.
- Ego Lifting: Putting up weight you can’t control is not strength. It’s a fast track to injury. Focus on the quality of the rep, not just the number on the bar.
Gear I Use
For heavy squats, a good weightlifting belt is essential for maintaining core rigidity. It’s not a crutch, it’s a tool to help you generate more force and protect your spine when the weight gets heavy.
FAQ
Q: What is the most important cue for good squat form? A: Maintaining a neutral spine and achieving full depth are paramount. Everything else supports these two critical elements.
Q: How much weight should I be squatting? A: The weight should be challenging enough to force you to use proper technique for the prescribed reps, but not so heavy that your form breaks down. Focus on the quality of the movement.
Q: Is it okay if my knees go past my toes? A: Yes, it’s often necessary to achieve full depth, especially with a more upright torso. The key is that your knees track in line with your toes and don’t cave inward.
Q: How do I fix butt wink? A: Start by ensuring you have adequate hip and ankle mobility. Focus on your bracing technique and try initiating the squat by pushing your hips back more. If it persists, the weight is likely too heavy for your current mobility.
Q: Should I use straps for squats? A: No. Straps are for pulling movements like deadlifts. For squats, you need a solid grip on the bar to engage your upper back and create stability.
Conclusion
Stop guessing. Stop doing half-reps and calling it training. Mastering good squat form isn’t about vanity; it’s about building a stronger, more resilient body. It’s about laying the groundwork for real, measurable progress. Take this information, apply it to your next squat session, and focus on hitting depth with control. Film yourself. Analyze your movement. Make the adjustments needed to achieve that perfect blend of power and stability. The iron doesn’t lie. Get in the damn work.
Related Articles
- How Much Protein Do You Actually Need Per Day to Build Muscle for Serious Lifters 2026
- Bulking vs Cutting for Serious Lifters: How to Do Both Right and When to Switch in 2026
- How to Build a Push Day Workout for Serious Lifters: Exercises, Sets, & Reps (2026)
- HIIT vs Steady State Cardio: Which Burns More Fat and When to Use Each
Where to Buy


💬 Join the Conversation
Have thoughts on this article? We'd love to hear from you.