
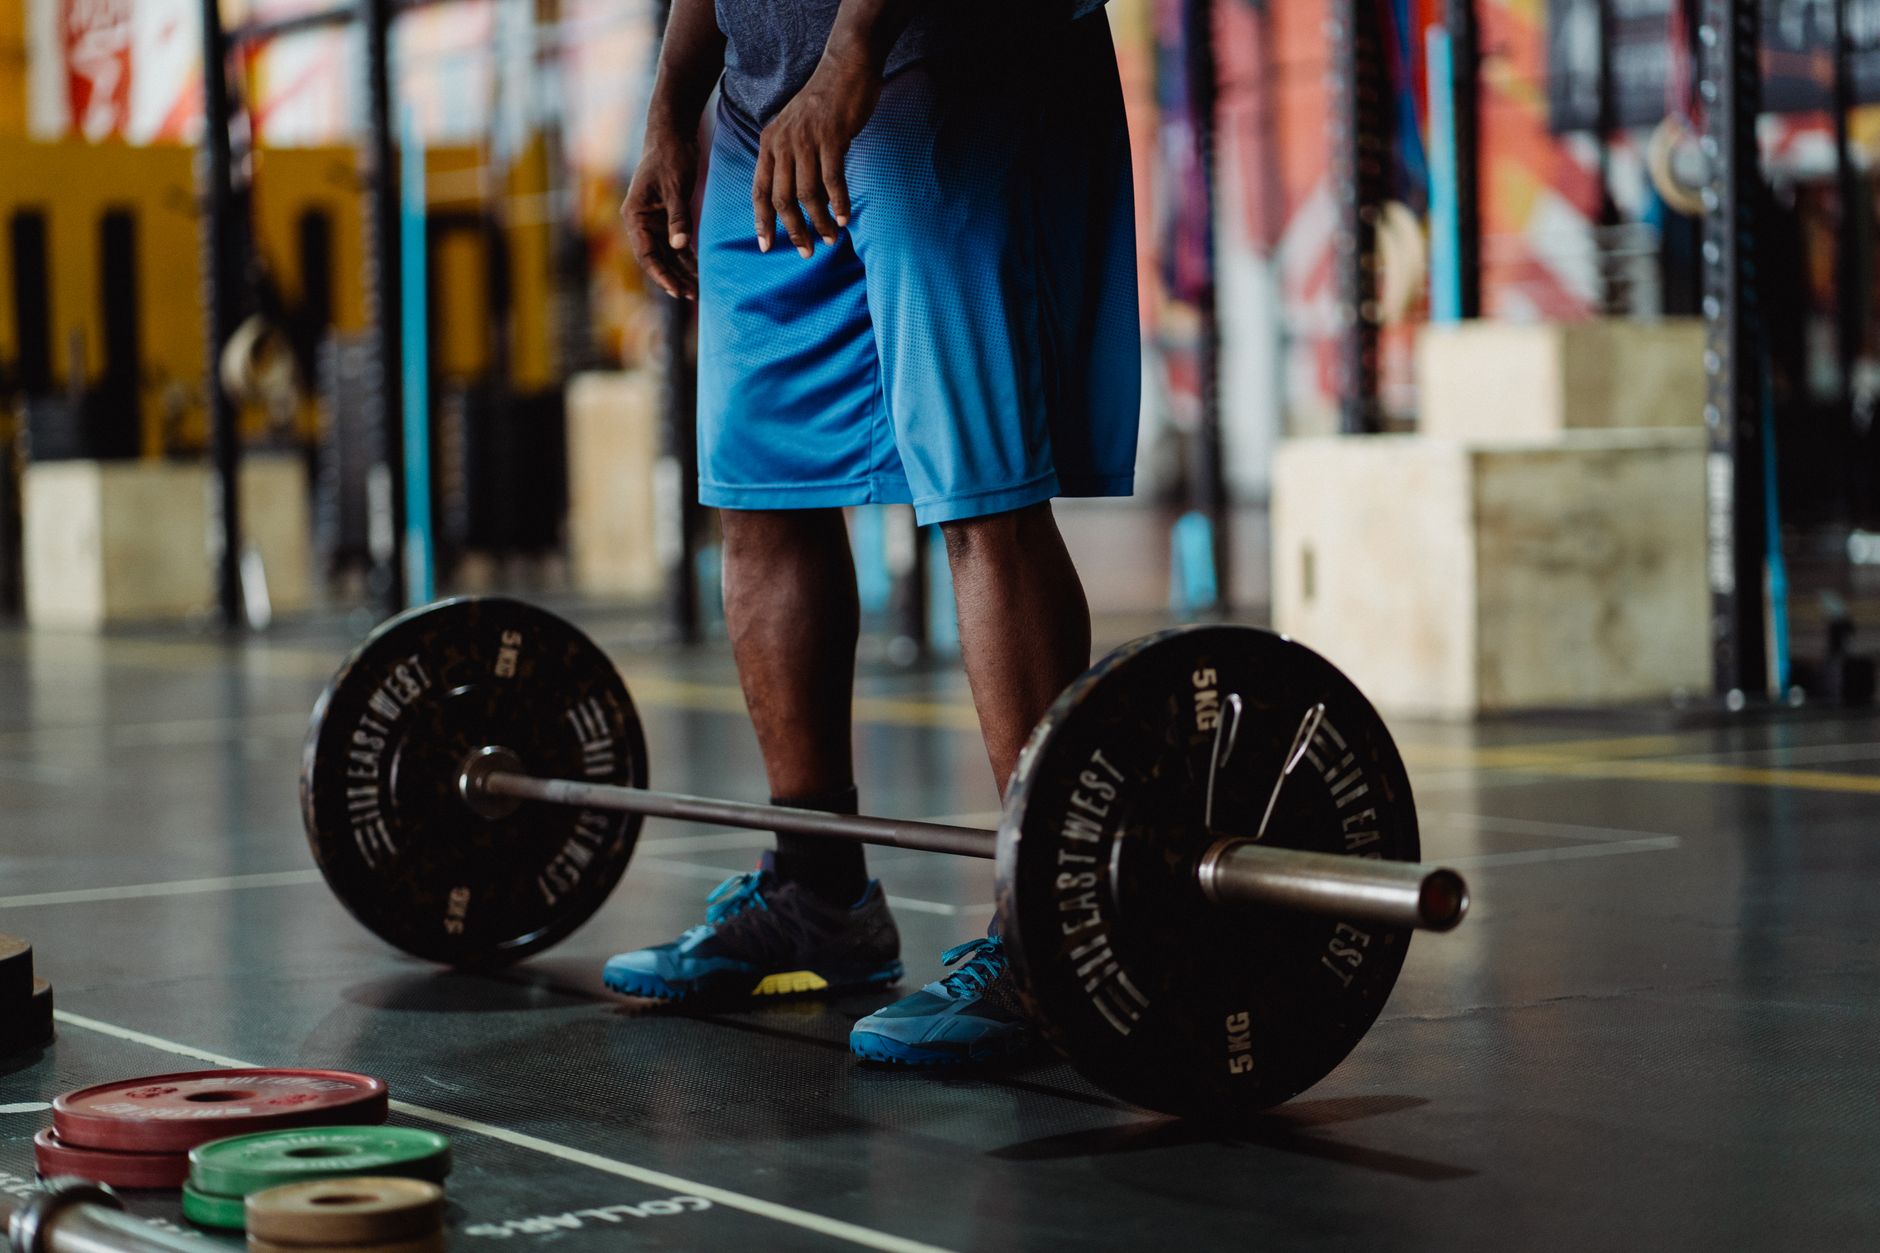
- The Strategy: Combine one heavy vertical pull, one heavy horizontal row, and targeted unilateral work to hit both lats and mid-back.
- The Rep Scheme: Stay in the 6 to 12 rep range, focusing on mechanical tension and a complete stretch at the bottom of every rep.
- The Fix: Stop using your lower back to swing the weight; lock your torso in place and pull with your elbows, not your hands.
The year I stopped ego-lifting on lat pulldowns and actually learned to pull with my elbows, my back workout for width and thickness finally started showing real results. Before that, I was like every other guy in the commercial gym. I was loading up the stack, swinging my torso like a pendulum, and wondering why my biceps were sore while my back looked like a blank sheet of paper. We see it every single day in our coaching. Lifters want that sweeping, aggressive V-taper, but they train their back like they’re trying to start a lawnmower with bad form.
You can’t build a thick, wide back with momentum and half-reps. It takes heavy, structured volume, a brutal mind-muscle connection, and the willingness to fight through the burning pump on rep ten. In our experience, most lifters fail because they don’t understand how to isolate the lats versus the upper back. We wrote this guide to kill the bro-science and give you a straight-to-the-point blueprint. If you’re serious about adding plates to the bar and stretching out your t-shirts, stop skimming. Read this, internalize the mechanics, and go put in the damn work.
Why Do You Need Both Width and Thickness?
You can’t build a complete V-taper by only focusing on one plane of motion. If you only do pull-ups and pulldowns, you’ll look wide from the front but paper-thin from the side. If you only row, you’ll have thick, rope-like muscle fibers near your spine, but no width to create that classic silhouette.
To build a back that looks dominant from every angle, you must understand the anatomical split between width and thickness:
- The Width Builders (The Lats and Teres Major): Your latissimus dorsi is the largest muscle group in your upper body. When fully developed, they flare out like wings. To target them, you need vertical pulling movements and rowing variations where your elbows stay tucked close to your ribcage.
- The Thickness Builders (Traps, Rhomboids, Rear Delts): These muscles sit on the upper and mid-back. They create the three-dimensional slabs of meat that pop out when you stand relaxed. To target them, you need horizontal rowing movements where your elbows flare out at roughly a 45-to-60-degree angle, allowing your shoulder blades to fully retract and protract.
Many lifters think they can just deadlift their way to a massive back. While deadlifts are great for overall posterior chain thickness and spinal erector density, they don’t provide the dynamic range of motion needed for maximum hypertrophy in the lats and upper back. You need direct, targeted volume. Our approach balances these two planes of motion in a single, high-intensity session.
What Is the Best Back Workout for Width and Thickness?
Related reading: 4-Day Upper Lower Split: The Complete Workout Plan for Strength & Size
This is the exact routine we run when we want to pack on raw tissue. It’s designed to be performed once a week as a dedicated back day, or integrated into a push/pull/legs split. Don’t add extra fluff exercises. If you do this right, your back will be completely fried by the end of the fifth movement.
| Exercise | Sets | Reps | Rest | Tempo | Target |
|---|---|---|---|---|---|
| 1. Weighted Pull-Ups | 4 | 6-8 | 3 min | 3-0-1-1 | Width (Lats & Teres Major) |
| 2. Pendlay Rows | 4 | 8 | 2-3 min | 2-0-X-0 | Thickness (Mid-Back & Erectors) |
| 3. Single-Arm Dumbbell Rows | 3 | 10-12 | 90 sec | 3-1-1-0 | Unilateral Lats & Thickness |
| 4. Wide-Grip Lat Pulldowns | 3 | 10-12 | 90 sec | 3-0-1-2 | Width (Upper Lats) |
| 5. Chest-Supported Rear Delt Rows | 3 | 12-15 | 60 sec | 2-0-1-1 | Upper Back & Rear Delts |
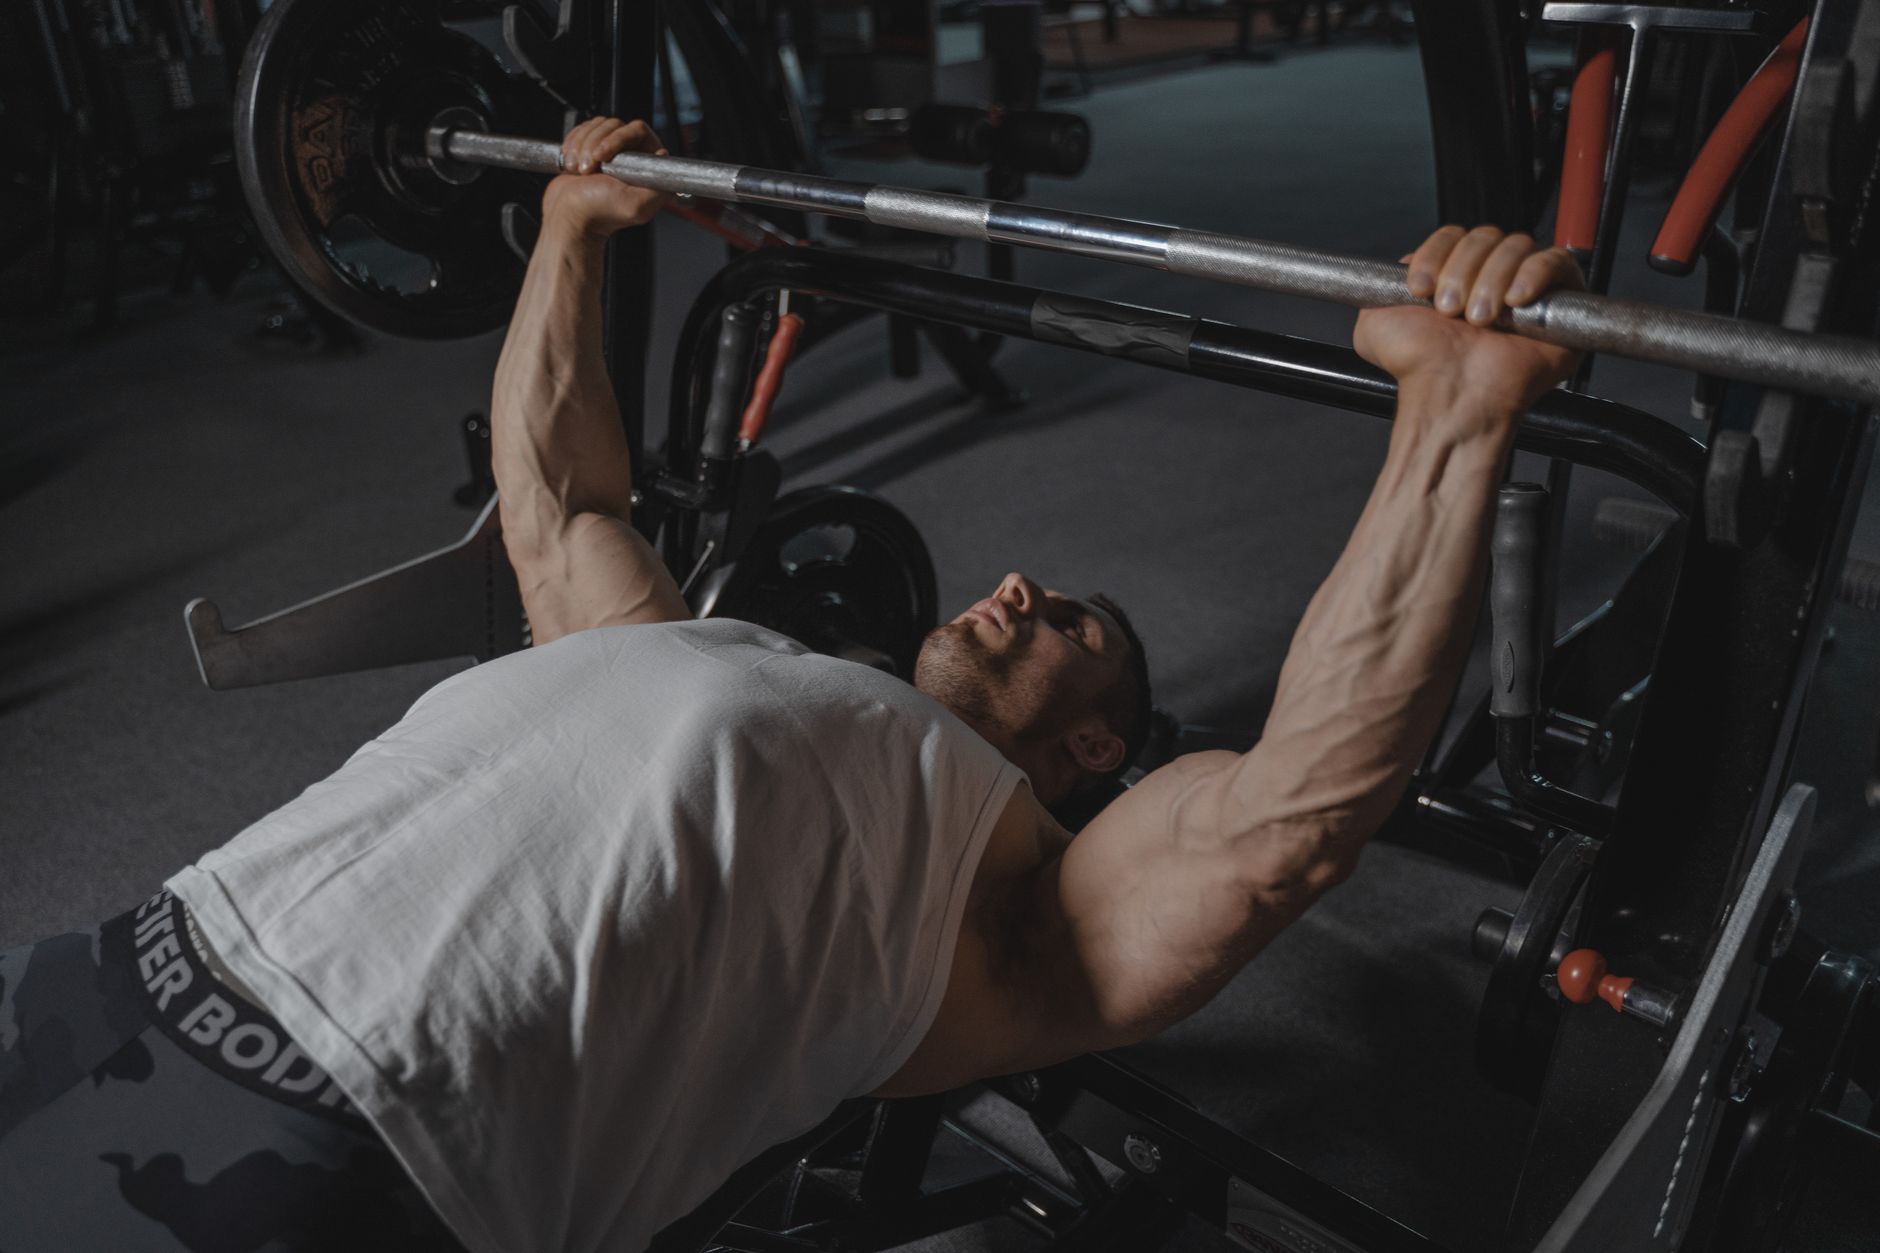
1. Weighted Pull-Ups
This is the ultimate test of upper body strength. If you can’t pull your own body weight up with perfect form, you have no business loading up machines. We start with these because they require the most neural drive and raw strength.
[Bar] / \ <- Wide, overhand grip O O | | _o_/ <- Pull chest to the bar, don’t chin-reach How to do it:
- Hang from a pull-up bar with an overhand grip, slightly wider than shoulder-width.
- Keep your core tight and cross your legs. Don’t let your body swing.
- Pull your elbows down to your pockets. Don’t think about pulling your body up with your biceps.
- Drive your chest to the bar. At the top, squeeze your lats for a full second.
- Lower yourself under strict control over a 3-second eccentric phase. Feel the stretch at the bottom before starting the next rep.
If you can easily do 10 bodyweight reps with perfect form, strap a plate to your waist. If you can’t do pull-ups yet, use a band for assistance, but don’t skip the movement.
2. Pendlay Rows
Related reading: Beginner Workout Plan: 3-Day Full-Body Program with 8-Week Progression
Standard barbell rows are fine, but lifters always end up turning them into a standing shrug. The Pendlay row forces you to remain strict because the bar starts dead on the floor for every single rep. This builds dense, thick slabs of muscle along your entire spine.
How to do it:
- Set up over a loaded barbell like you’re going to deadlift. Your torso must be completely parallel to the floor.
- Grab the bar with an overhand grip, slightly wider than your deadlift setup.
- Soften your knees, hinge at the hips, and brace your core. Your lower back must be flat, not rounded.
- Explode the bar off the floor by driving your elbows up to the ceiling. The bar should strike your lower chest/upper abdomen.
- Don’t swing your hips or raise your torso to meet the bar. Keep your upper body locked parallel to the floor.
- Control the bar back down to the ground, let it rest for a split second, and pull again.
3. Single-Arm Dumbbell Rows
Unilateral training is mandatory if you want to fix muscle imbalances and get a deep, agonizing contraction in the lower lats. By using a dumbbell, you can rotate your wrist slightly to get a longer range of motion than a barbell allows.
How to do it:
- Place one knee and one hand on a flat bench for support. Your spine should be neutral.
- Hold a heavy dumbbell in your free hand. Let it hang fully, stretching your lat at the bottom.
- Pull the dumbbell back toward your hip, not up to your chest. Your forearm should remain almost vertical.
- Squeeze your lat at the peak of the movement. Your elbow should pass your torso, but don’t twist your spine to force it higher.
- Lower the weight slowly, feeling the stretch pull all the way down into your lower back.
4. Wide-Grip Lat Pulldowns
By the time you reach this exercise, your grip and lower back will be tired. The pulldown allows you to isolate the upper lats without your lumbar spine acting as a bottleneck. This is where we chase the pump and accumulate metabolic stress.
How to do it:
- Sit in the pulldown machine and lock your thighs tightly under the pads.
- Grip the wide bar with an overhand grip just past the bend.
- Lean back slightly (no more than 10-15 degrees) to clear your face.
- Pull the bar down to your collarbone by driving your elbows down and back.
- Hold the contraction for two seconds at the bottom. If you can’t hold it, the weight is too heavy.
- Let the bar return slowly over three seconds, keeping tension on the lats even at the very top.
5. Chest-Supported Rear Delt Rows
A thick back is incomplete without rear delt and upper trap development. By lying chest-down on an incline bench, you remove all momentum. This ensures that your upper back does 100% of the work.
How to do it:
- Set an adjustable bench to a 30-degree incline.
- Lie face down on the bench with a dumbbell in each hand.
- Flare your elbows out at a 90-degree angle relative to your torso.
- Row the dumbbells up, focusing entirely on squeezing your shoulder blades together at the top.
- Hold the squeeze for a second, then lower under control. You don’t need massive weight here; focus on the burn and the squeeze.
How Do You Progress This Back Program Week Over Week?
You can’t run the same weights and reps forever and expect your back to grow. The body adapts to stress quickly. To force hypertrophy, you must apply the principle of progressive overload.
We recommend using a double progression model for this back workout for width and thickness. Here is how it works:
- Step 1: Choose a weight where you can hit the lower end of the target rep range with perfect form (e.g., 6 reps on Weighted Pull-Ups).
- Step 2: Keep that same weight until you can perform the upper end of the rep range on all sets (e.g., 4 sets of 8 reps).
- Step 3: Once you hit the upper rep target, increase the weight by the smallest possible increment (usually 5 lbs on dumbbells or 5-10 lbs on a barbell) and drop back down to the lower rep target.
[Week 1] 135 lbs for 4 sets of 8 reps (Target Met) │ ▼ (Increase Weight) [Week 2] 145 lbs for 4 sets of 6 reps │ ▼ (Build up reps) [Week 3] 145 lbs for 4 sets of 8 reps (Target Met again) Never sacrifice your form to add weight. If you have to swing your hips to get a Pendlay row up, you did not get stronger—you just got worse at lifting. Track your workouts in a logbook. Write down your weights, sets, and reps. If you’re not beating your previous self by one rep or one pound every couple of weeks, you’re just playing around in the gym.
Form Cues That Actually Build a V-Taper
The back is the hardest muscle group to master because you can’t see it in the mirror while you train. This leads to a massive disconnect between your brain and the working muscles. If you want to stop wasting your energy, implement these three mental cues immediately.
Pull with Your Elbows, Not Your Hands
Think of your hands as simple hooks. If you focus on pulling the bar with your hands, your biceps and forearms will take over the movement. Instead, visualize your elbows driving through the floor or back behind your ribs. When doing pulldowns, imagine trying to smash your elbows into your back pockets. This instantly shifts the tension onto your lats.
Control the Negative
Most lifters drop the weight like a stone on the eccentric phase of rows and pulldowns. This is a massive mistake. Muscle damage and mechanical tension—the two primary drivers of muscle growth—occur heavily during the eccentric (lowering) phase. Take a full 3 seconds to lower the weight on every single rep. Fight the stretch.
Stop the Momentum
If your hips are moving, your back isn’t working. On barbell rows, your torso should remain locked at the same angle from the first rep to the last. If you find yourself standing up as the set goes on, strip a plate off the bar. Your ego is killing your V-taper.
The Gear We Trust Under the Bar
We don’t believe in relying on gimmicks, but when you’re chasing a heavy back workout for width and thickness, your grip will eventually give out before your lats do. Your lats are massive, powerful muscles; your forearms are small and easily fatigued.
To keep the tension exactly where it belongs, we use heavy-duty lifting straps on our top sets of dumbbell rows and pulldowns. This allows you to completely take your grip out of the equation and focus entirely on pulling with your elbows.
Additionally, when pulling heavy from the floor on Pendlay rows, a stiff leather weight belt is invaluable. It provides intra-abdominal pressure that keeps your spine safe and your torso locked in place, allowing you to pull heavier loads with confidence.
FAQ
How often should I train my back for a V-taper?
For the best results, you should train your back twice a week with at least 72 hours of rest between sessions. You can split this by focusing one day on width (vertical pulls) and the second day on thickness (horizontal rows). This high-frequency approach keeps protein synthesis elevated and allows for higher-quality volume.
Can I build a wide back without doing pull-ups?
Yes, you can build a wide back using lat pulldowns and single-arm cable rows if you have shoulder issues that prevent pull-ups. However, the weighted pull-up remains the king of back width because of the high level of core stabilization and raw mechanical tension it requires. If you can do them, you should.
Why do my biceps get sore instead of my back?
Your biceps are taking over because you’re pulling with your hands and using too much weight. To fix this, drop the weight by 30 percent, use a hook grip (thumbs over the bar), and focus on driving your elbows back. Using straps can also help disconnect the mind-muscle link to your forearms.
Is deadlifting necessary for a thick back?
Deadlifts are excellent for building the spinal erectors, traps, and glutes, but they’re not strictly necessary for a V-taper. Because deadlifts are incredibly taxing on your central nervous system, you can often build a wider, thicker back by focusing on heavy rows and pull-ups which allow for a better range of motion.
Should I do back and biceps together?
Training back and biceps together is a classic, effective split because the biceps act as secondary movers in all your pulling exercises. Just make sure you perform all of your heavy back movements first when your energy is highest, and save your direct bicep curls for the very end of the workout.
Conclusion
Building a back that commands respect takes time, consistency, and a complete lack of ego. You can’t fake a wide, thick back. You have to earn it through heavy, controlled reps and relentless effort.
The best back workout v taper blueprint is right in front of you. Don’t go back to your old routine of swinging on pulldowns and half-repping your rows. Take this program to your gym today. Print out the table, track your weights, lock in your form, and push your sets to true muscular failure. Stop talking about wanting a V-taper, get under the bar, and put in the work.
Related Articles
- How Much Protein Do You Actually Need Per Day to Build Muscle for Serious Lifters 2026
- Bulking vs Cutting for Serious Lifters: How to Do Both Right and When to Switch in 2026
- How to Build a Push Day Workout for Serious Lifters: Exercises, Sets, & Reps (2026)
- HIIT vs Steady State Cardio: Which Burns More Fat and When to Use Each


💬 Join the Conversation
Have thoughts on this article? We'd love to hear from you.